Monday, August 31, 2015

Making an Emergency Sub Folder

Like all teachers, I mentally cringe at the thought of having to call in sick. The foremost thought in my mind is, "But I still need to make copies for ___________!" Enter the emergency sub folder.


Substitutes love to come in for me-they like the organization! My regular teaching time is patterned. I start with a research based curriculum and work through it, making adjustments as needed. So, the work for this is written in my weekly plan book and the materials are sitting out on my desk. But, just in case the substitute has issues with any of that, there is a backup-the emergency sub folder.

This contains a list of my daily schedule and student rosters. Then, each period has it's own stack of copies. (I update this periodically to prevent the copies from being WAY too easy for the students.) I include some fun stickers for students, making sure to communicate my expectations for student performance. But the special thing about this folder is the pocket with notecards. Each one lists 'sponge' activities that fill extra time with constructive, learning work! Be sure to include this in your folder and have plenty of resources at the sub's fingertips. You just might find it easier to obtain a good substitute.

Friday, May 8, 2015

Appreciate Teachers-Especially if They are Moms

Any working mother realizes that she is missing part of her child's life. But teachers and other moms working with children feel this loss more deeply.


As I greet students with a smile, my mind fills with the remembrance of chubby arms around my neck and cries of "Mama!" as my baby protests my leaving.


While I comfort a hesitant Kindergartner on his first day, someone else is comforting my baby.

As I listen to a child read their first words from a book, I'm missing my baby's first words.

When I'm teaching long division, someone else is teaching my baby to walk.

As I wave to my students standing in lunch line, my baby is trying new foods for the first time.

When I praise a student for mastering a new skill, I'm missing praising my baby for her first steps.

As I read aloud to my students, someone else is reading my baby her favorite book.

While I'm teaching students to count to 100, someone else is counting the ounces of milk my baby drank.

Every milestone I help someone else's child reach is in exchange for one I missed in my own child-and my heart mourns the loss. 


Friday, April 24, 2015

Mini Breakfast Pizzas

Convenience foods are great, but they can also break a grocery budget. So, I have a 'rule of thumb' for purchasing refrigerated crescent rolls and biscuits.

$1 or less: Stock Up.
$1.25: Get What I Need
More than $1.25: Leave It

Well, I had stocked biscuits. They are great plain, but it takes forever to eat the leftovers. They just taste best fresh and flaky from the oven. So, I brainstormed ways to use them in our main dish. For some reason, breakfast pizza came to mind.


After rolling each biscuit into approximately 6" by 6", I pre-baked them for about 5 minutes to prevent doughy centers. While they were cooking I fried some chopped bacon, green pepper, and mushrooms. Then I scrambled about 4 eggs in the bacon grease. The biscuit crust was topped with this mixture and some cheddar cheese. I popped it back into the oven for about 15 minutes...and we enjoyed them for the next several breakfasts.

Bonus-This recipe is toddler tested and approved!

Tuesday, April 14, 2015

Toddler Snacks-Feeding a Picky (Selective) Eater

Little K would try anything from six to nine months of age. Everyone exclaimed over how well she ate. "It's wonderful that she likes vegetables already." Hmmm.....maybe they jinxed us.

Now mealtimes are filled with Little K systemically clearing her tray by picking up each food and throwing it on the floor. Ugh. But she needs to EAT!!!! So....I feed her when she's hungry (which is all the time) with healthy foods that she can carry around with her. Toddlers require constant supervision anyway, but be extra vigilant when your little one is snacking. You don't want him to choke. 

For some reason, toddlers seem to have this insane urge to be in constant motion.  Dr. Sears in The Baby Book suggests using a tray with a variety of healthy snacks to provide toddlers with on-the-go options. Little K would just dump that all over the floor! But, I did take his advice to offer snacks. Sometimes I put yogurt melts/cheerios/puffs in her toy cup, other times I pull off a few strings of cheese or break off a cracker. 


Little K also loves to sample my cooking ingredients! A strip of green pepper or a few shreds of cheese keep her busy long enough for me to mix up a quick meal.

Here is a quick list of ideas:


Tuesday, March 10, 2015

Pretty in Pink-Baby Girl's 1st Birthday!

Part of being a Pinterest addict means I get too many creative ideas about food and decor to ever have an ordinary party! After seeing pink cupcakes arranged in the shape of a 1, I pinned a strawberry frosting recipe....and a strawberry cake recipe....and tissue paper pom-poms...and tulle decorations for staircases....and crepe paper flowers....and pink or funfetti snacks....Well, let's just say there were multiple touches of pink for our special celebration!


At the front door, the foyer was decked with tissue pom-poms, crepe paper, tulle, and photos!


We treated our guests to pink punch with matching princess napkins and plates....


...and decorated the mantel with family pictures, pink ribbon, a few flowers, and a matching birthday banner. The hubs hung the banner for me-I told him it was a manly job-using our stocking hangers!


 The snack table included pink deviled eggs, funfetti snack mix, strawberry fruit dip, funfetti cheese ball, and strawberry cupcakes! 


The cupcakes were arranged in the shape of a 1, then I frosted them in a rose style. (The server needed a few pink crepe paper flowers to beautify it, too.)


The baby had a rosette frosted smash cake!
Like all kids, her favorite part was opening her new toys! I guess I didn't need to stress over the rest of the party-wrapping paper fixes all worries!


Thursday, February 5, 2015

Baby Led Weaning at Daycare

Little K has enjoyed Baby Led Weaning from the time she could suck the juices from peaches and tomatoes. She savored my mom's summer garden crop of tomatoes! But then, who doesn't like home grown tomatoes?


The daycare we send Little K to requires us to provide baby food, although lunch is served for toddlers. Since we are BLW, I was tempted to say, "Just give her whatever you are having for lunch." But there were two problems with that:
1. The food might not be suitable. Prepackaged foods high in sodium, deli meat with unnatural additives, sweetened fruits, grapes, hot dogs, and cherry tomatoes immediately come to mind. 
2. The provider might not feel comfortable allowing Little K to self feed.


So, we send a mix of traditional baby purees and non-traditional finger foods. If the purees are homemade, I try to keep them thick enough for Little K to self feed if she wants.

Here are some of Little K's favorites:

Apple Cider Beef Stew (I shred the chunks of beef and mash the veggies with a fork.)
Roast Beef and Gravy (Shred the beef and serve over rice or mashed potatoes)
Chunks of fresh pineapple
Steamed broccoli
Deviled egg
Roasted Pear and Banana Puree

Wednesday, October 8, 2014

October Freezer Meals-Choosing the Recipes

This is my third month of freezer meals with a good friend. Our babies are 7 months apart and we both appreciate a healthy, ready-to-eat meal. After working (in or out of the home) all day, it's so wonderful to dig into a hot meal from the slow cooker or a casserole steaming from the oven. We met once a month with the ingredients for us each to make 6 recipes. Then, we go home with half of each recipe for a total of a dozen freezer meals!

Last month I had a lot of dump and go meals. These were mostly slow cooker meals, but I did have a casserole and a batch of white chili. This time I was drooling over some other more labor intensive recipes, so I decided to invest some additional prep time.

First, I went through my Pinterest board for freezer meals and analyzed my recipes for similarities. For instance, if I need shredded chicken for one recipe, I might as well shred a bunch of chicken and use it for multiple recipes. I chose to use shredded chicken in my recipes because my friend made this AWESOME hot chicken salad a couple of months ago. Little K and I especially savored it. It called for shredded chicken, so....I collected shredded chicken recipes.

Hot Chicken Salad from Add a Pinch

The second recipe I chose was Chicken Cordon Bleu Casserole. One of my co-workers was raving about the dish...so I had to put it on the list.

Tasty Kitchen Blog: Chicken Cordon Bleu Casserole. Guest post by Erica Kastner of Cooking for Seven, recipe submitted by Terri of That's Some Good Cookin'.
Chicken Cordon Bleu Casserole from Tasty Kitchen
Keeping with the cooked shredded chicken, I decided on Chicken Enchilada Rice Casserole. The recipe starts with shredded chicken and cooked rice, so.....

chicken-enchilada-rice-casserole-1-5
Chicken Enchilada Rice Casserole from Jo Cooks


This Cheesy Chicken Broccoli and Rice Casserole is sure to become a new family favorite!  | MomOnTimeout.com | #casserole #chicken #dinner #recipe
Cheesy Chicken Broccoli & Rice Casserole from Mom on Time Out

Now that I'm cooking broccoli, I decided to try this super simple recipe for Jumbo Pasta Shells.

chicken and broccoli stuffed shells with alfredo sauce done
Chicken and Broccoli Stuffed Shells with Alfredo Sauce by Eat at Home Cooks

Well, I ran out of shredded chicken recipes. About that time, I came across this delicious comfort food recipe for Oven-Baked Frito Pie. So, it finished my half dozen recipes.

Oven-Baked Frito Pie from My Family Meal Plan
I will post my shopping list and make-ahead prep after our cooking day! Until then, I'm drooling over the pictures.


Monday, October 6, 2014

Farm Life....


Tina from Catching Fireflies did a photoshoot for our family in the cornfield. She caught some priceless moments!


Baby toes!

Walking hand-in-hand through the field....


Playing in some corn!

Monday, September 8, 2014

Baby-Led Weaning: Why I Chose to Let My 5 month old Try Solids

First of all, if you are thinking of doing Baby Led Weaning (BLW), I highly encourage you to read the book. It made me feel much more confident in giving my baby solids when I knew the biology behind it.

My main concerns were - How does the baby chew food? How do you know the baby won't choke?

1. Your baby is just playing with food, not eating for primary nutrition, like an adult would. Food is a new 'toy' for your baby. She will discover that some substances have a taste and can be broken into smaller pieces. Little K started with a slice of fresh peach. She licked it and decided it had a yummy flavor!

In this case, since baby is getting the majority of calories and nutrients from breastmilk or formula, chewing is overrated. Baby can gum or gnaw on food, but she doesn't need to chew efficiently yet. Still, it's a good idea to stick with first foods that are melt-in-mouth baby friendly. Juicy foods (like a good steak) let baby explore a variety of flavors and textures.

2. Young babies have a gag reflux much further forward in their mouths than adults and older children. This helps teach your baby to take small bites and chew her food throughly before swallowing. She has to have the food in small pieces in order to swallow it. Baby will gag on food that is too big without danger of choking.

I knew Little K was ready to start Baby Led Weaning when she grabbed my bowl of cereal and dumped it, followed by grabbing my full spoon and attempting to put it in her mouth. Your baby will let you know when she is ready to try eating like Mama!

Monday, August 25, 2014

Daycare Decisions

Unfortunately, Day Two of daycare went no better than the first day. The good news was that the next day we sent Little K to stay with her aunt for the day. This worked much better. Little K was sleeping peacefully when I picked her up. She ate rice cereal and took a bottle. YAY!


The bottom line:

 1. Find a daycare location where your baby is comfortable. Little K had visited and spent several hours a time at her aunt's house while I was there, too. So, she had semi-familiar surroundings.

2. Provide opportunities for you and your baby to visit your provider. Let your baby know your provider is a friend.

3. Leave some baby clothes at your provider's house, then put them on your child when you are at home. This way your baby becomes familiar with the smell of your provider's home. Sometimes it helps to send something from home with a comforting scent (like a blanket).

Tuesday, August 19, 2014

Down in the Daycare Dumps

So, everyone said, "It's going to be so hard to leave her." Confession: It wasn't. I knew Little K would enjoy playing and watching the other kids. She had been taking a bottle of formula regularly for me during mid day. While she was shy around others, when I wasn't around, she didn't seem to care... So I left her, smiling and cooing, at daycare, confident she would enjoy herself.


WRONG! When I picked Little K up from her first day (only a half day) she was screaming. The daycare provider confided that Little K had bawled the whole time and refused to eat. My provider had rocked her, walked around with her, tried to distract her with toys, the pacifier, and a bottle to no avail. Little K quieted the instant I picked her up.

I spent hours crying, thinking, "She thought that she had to cry for FOUR HOURS until I came for her." To top off my anguish, the provider said she won't take Little K if she won't eat. (When we got home, Little K took 4 ounces from her bottle.)

What am I going to do? Well, we're trying it again, with pumped breastmilk instead of formula, and LOTS of prayer. Fingers crossed for a better half day this morning.

Thursday, August 7, 2014

Almond Cranberry Granola Bites

Do any other breastfeeding mothers feel like they're always starving or is it just me? I have eaten so much food today, I don't even want to think about it.

One of my healthy snack foods has been granola bites. I got started with Funfetti Granola Bites, but, like my husband pointed out, they're too sweet. So, I tried to find healthier granola recipes. I tweaked this Almond Cranberry Granola recipe to fit my tastes. The original recipe called for peanut butter (why do that when almond butter is available?).


After assembling the ingredients, mix everything together and chill for about 30 minutes.


Use one of these nifty scoops to shape the bites. TA-DA!


Almond Cranberry Granola Bites

1 cup oatmeal
1/4 cup wheat germ
1/2 cup almonds, chopped
1/2 cup dried cranberries
1/2 cup almond butter
1/3 cup honey
1/2 teaspoon vanilla

Mix all ingredients together. Chill 30 minutes. Scoop into bites. Enjoy!

Wednesday, August 6, 2014

Dark Chocolate Granola Bites a.k.a. Mom Snacks

I got addicted to granola bites when I made a Funfetti version. My hubby complained they were too sweet.....which would explain why they were sooooo good. So, I tried several different recipes. My favorite (after the Funfetti) were these.


Dark Chocolate Granola Bites

1 cup oatmeal
1/2 cup coconut flakes
1/2 cup flax seed
1/2 cup peanut butter
1/3 cup honey
1 teaspoon vanilla
1/2 cup dark chocolate chips, chopped

Mix all ingredients together. Chill 30 minutes. Roll into balls.  


 This is a great recipe for a breastfeeding mother because it has lactation encouraging oatmeal! Plus, they're quick to make and easy to snack on while nursing.


Monday, July 21, 2014

My Natural Childbirth Experience

Ever since I got married, I had a niggling fear that when I had a baby, it would end in a c-section. While I understand the importance of the medical procedure, I had no desire to be cut open! So, when I found out I was expecting Little K, I began researching how to avoid a c-section. My findings led to a home birth-which I knew my husband wouldn't go for. However, I thought I might be able to convince him to let me go to a birth center.

So, I shared all the information I had gathered on the medicalization of birth. I pointed out that I dislike hospitals. I emphatically stated that I wanted to recover in my own bed. After briefly trotting out the idea of home birth, I put that horse in its stall and suggested the birth center. My husband graciously told me I could decide where I wanted to give birth (as long as it wasn't at home). That settled it. I was going to the Topeka Birth and Women's Center.

The center is in an old Victorian home. I loved the pictures of the exterior and interior immediately. My house was built in 1900, so the center would be the next best thing to being at home. I knew I would be able to relax in such comforting surroundings. This also helped convince my husband, because he loves old homes as much as I do.


In the weeks leading up to Little K's birth, we got to know the ladies at the Birth Center and respect their incredible knowledge. After the first required childbirth class (which for me was a review of what I had read online about the dangers of medicalizing birth), my husband really understood why I had been so emphatic about avoiding a hospital birth. This information did not imply that you can't have a natural birth in a hospital, but just pointed out that it's much more difficult to do so.

I was encouraged to labor at home as long as possible. This ended up being about half the day. I labored on the bed at the center for several long hours. Then I moved to the tub. That was heavenly! I relaxed in the water....until it was time to push. I moved to the bed and my husband said the midwife did a great job of having me change positions to help move things along. (I just did what I was told at that point.)
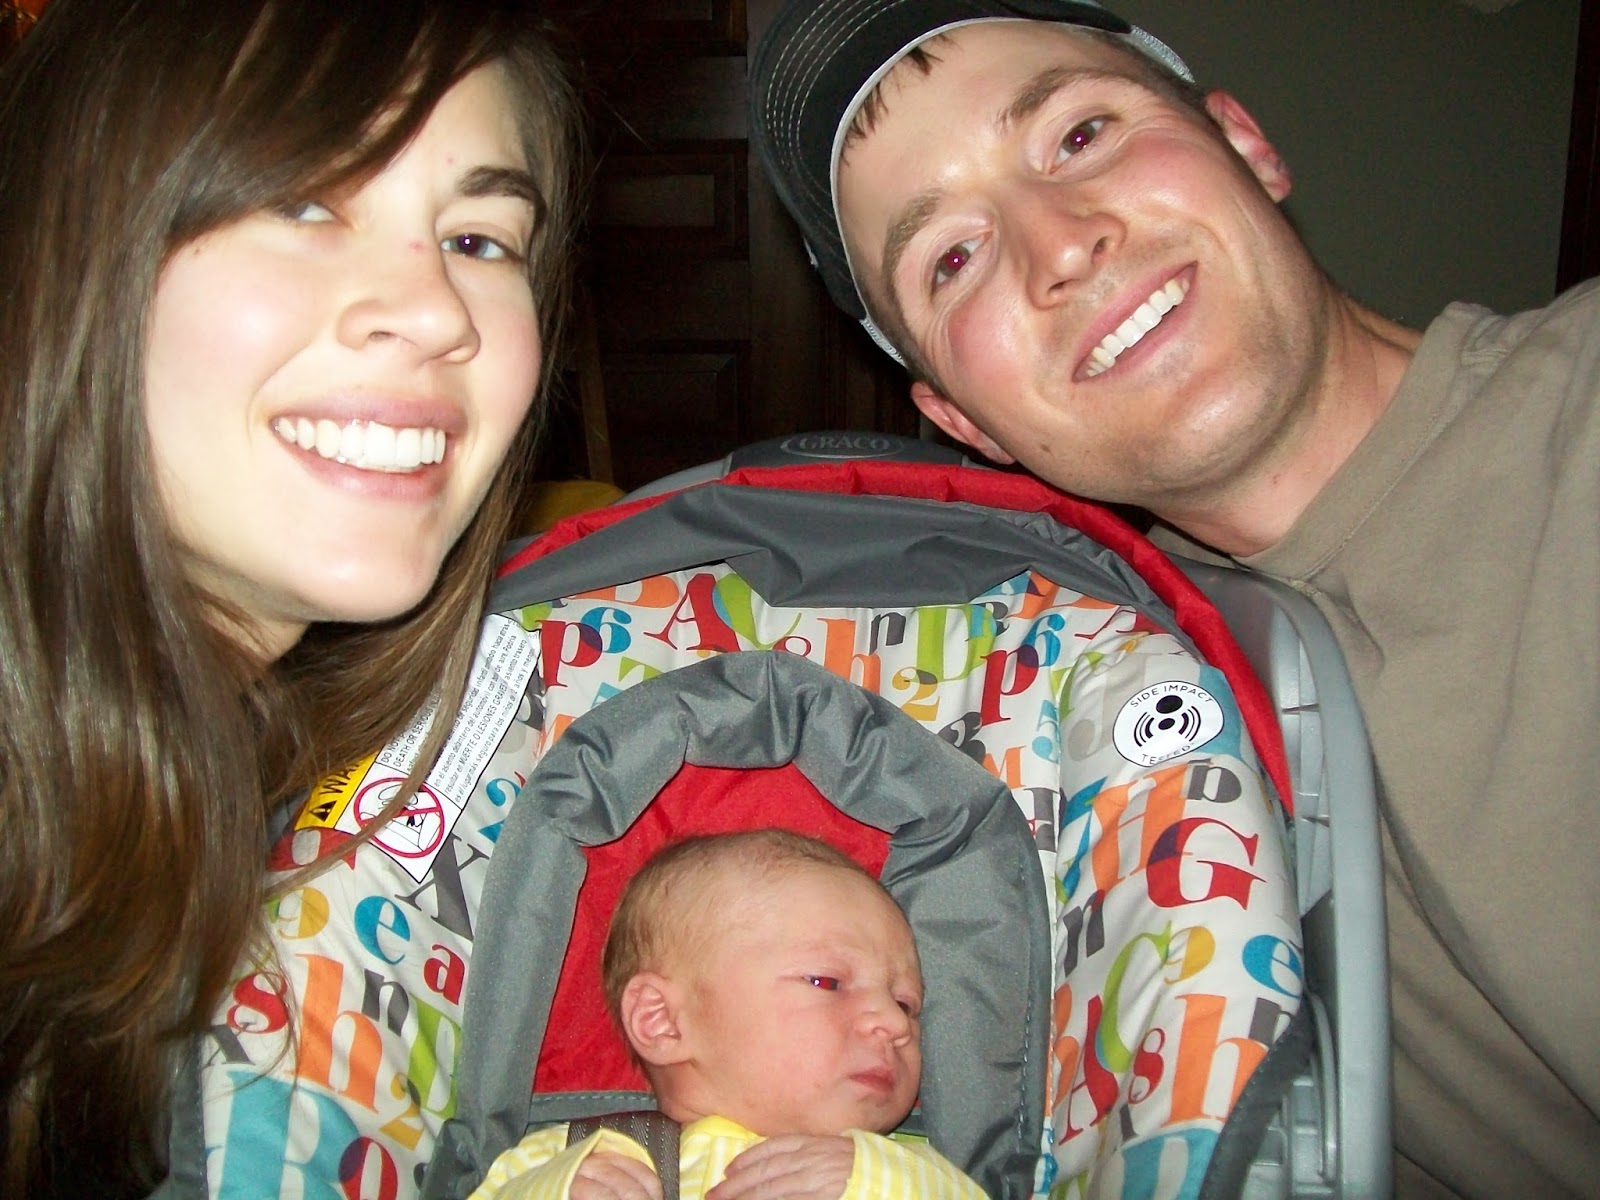

After Little K arrived that evening, we had some quiet cuddles. My husband and I snuggled with her on the bed for quite a while. Then, four hours later, we got to go home! I was so excited to be headed back to my own, comfy bed. Although, to be fair, I didn't have any complaints about the bed at the birth center.

Even though I'll be the first to admit I didn't handle the pain of labor well, I will be going back to the birth center for my next birth. I felt like the midwives cared about our family as people, not patients. Bonus: no c-section needed!


Sunday, July 20, 2014

Traveling with Baby: Avoiding Screaming Serenades

I never really worried about traveling in the car with baby. Everyone said things like, "Babies always sleep in the car. They love riding in the car. We always take our baby for a drive to put him to sleep."

They are some lucky ducks. My baby was only like that until about 4 weeks old. Then we were rudely thrust into a world where the baby screamed in the car seat. Oh, things would start out well. She would lay quietly. Then she would scream her head off until we reached our destination and took her out. So, aside from buying some earplugs, we came up with some solutions to content the baby.


1. Start with a full tummy and clean diaper. Whenever possible, change the baby's diaper and nurse her immediately before placing her in the car seat. If she doesn't fall asleep while nursing, being full will at least help her be more comfortable on the ride.

2. Give baby a comfort object. For Little K, we give her a lightweight or fluffy blanket, depending on the weather. It helps her relax when she has something to grasp. If your baby gets quiet, be sure to glance back and made sure she hasn't pulled the blanket over her face. Little K has never done this, but it's better to check just in case.


3. When the baby starts to show interest in toys, find a favorite one for car rides. Little K loves her turtle. It rattles, makes crinkly noises, and has a mirror on the bottom.


4. Give baby something interesting to look at.  We put one of those car mirrors at the base of Kaylee's seat so she can admire herself. Sometimes it also works well to have someone sitting back there to amuse her


5. Make sure baby is comfortable. Little K gets the sun in her eyes in the mornings and evenings, so we hang a light blanket over the bar of the seat to provide some shade.


6. Have a pacifier handy. We keep a pacifier clipped to the head support in the seat. Sometimes Little K needs a few minutes of sucking to tip her over into dreamland....


7. Sympathize with baby. Think of how you feel after riding in the car for hours on end. Your rear starts tingling and you just want to stretch out. Babies get the same way! Whenever possible, take your baby out for a stretch. Put her in the carrier or sling while you're in the grocery store. Let her nap in your arms over lunch. Giving your baby a break from the car seat will do wonders.

Good luck to fellow suffering parents...you have my deepest sympathies for your hearing. My final tip is to drive fast and don't take the scenic route! The sooner you reach your destination, the sooner your baby can be comforted.

Saturday, July 19, 2014

Aren't Cloth Diaper Babies Exempt from Diaper Rash?

I was disappointed to discover Little K was developing a diaper rash even with 100% cloth diaper usage. In the past, she's gotten a little red, but always cleared up after a diaper change or two. If she started appearing irritated, I would use a Charlie Banana diaper with its soft microsuede to soothe it. That usually did the trick. Until....I used natural fibers for several diapers in a row.

The advantage to natural fibers is their absorbency. A thin bamboo layer will absorb much more than a microsuede or microfiber layer of the same size. However, the natural fibers don't wick moisture away from the baby's skin. This is an advantage for older babies, because it provides an incentive for potty training. Little babies, on the other hand, can suffer from horrendous rashes from rubbing against a wet diaper.

One way to handle the situation is to use a diaper liner. This seems like an annoying extra step...so I decided to try to heal the diaper rash. I investigated creams that were cloth diaper friendly, noticing two common ingredients-witch hazel and olive oil. Within 18 hours of patting Little K with witch hazel and following it with an olive oil massage, her skin looked much better.

To cut down on the mess, I try to pour the witch hazel on while the soiled diaper is still under Little K. That way the diaper catches any extra drips. (Sometimes she's too wiggly for this!) Then, to get just the right amount of olive oil, pour a bit into the cap. Dip your fingers in the cap and rub the oil into baby's bum. This is Little K's favorite part-she loves her olive oil massage.

So, if you want to invest in a cloth diaper friendly rash cream, there are some great options out there. But while you're waiting on your chosen treatment to arrive, pull out the olive oil. Your baby will appreciate the care.

Monday, June 30, 2014

Cloth Diapering 101: Prefolds and Flats

What's a flat?

If you're like me, when you hear the term flat used as a noun, you think of a box of peaches. But when you're speaking of diapers, it refers to a single layer of fabric you fold and lay in the diaper cover. You can make your own, but I wouldn't recommend it. They are the cheapest type of diaper to buy, so it's not like you're spending big bucks in the first place. You can buy the cheap cotton flats sold by Gerber...but mine absorbed so little I kept using them for burp rags. I prefer my bamboo flat from Nicki's Diapers. To use a flat, you fold it until it fits inside your cover, snap the cover around the baby, and change the flat when it's wet.


How's a prefold different than a flat? 

They're both absorbent pieces of fabric....

A prefold is more than one layer of fabric. (So, you don't have to 'fold' it into layers.) I have used the Gerber prefolds and the Econobum prefolds. Both are cotton, but the Econobum has more layers than Gerber. So, when I want a trim diaper that I don't mind changing every few hours, I pull out the Gerbers.


How to Fold a Flat

1. Fold the diaper into fourths (half, and half again, making a square).

2. Fold the diaper into thirds. TA-DA!


Using Flats inside a Diaper Cover


This is the best part of flats-just lay it inside the diaper cover.


How to Fold a Prefold


1. Fold the fabric into thirds.

2. Fan one end of the diaper.


Using Prefolds inside a Diaper Cover


The Easy Way


1. Lay the diaper (folded into thirds) inside the cover.

2. Fold the front of the diaper back to fit inside the cover.


Pinning a Prefold

1. With the fan of the diaper under the baby's rear, bring the folded end up to the front.

2. Fold the top of the diaper down as needed to fit the baby.


3. Pin the fanned part to the front, making sure it is tight around the baby's legs.


4. Put a diaper cover on.